Create an Azure AD application identity for your logic app
Your logic app resource uses this Azure AD application identity to authenticate against Azure AD. You only have to set up this identity one time for your directory. For example, you can choose to use the same identity for all your logic apps, even though you can create unique identities for each logic app. You can set up these identities in the Azure portal or use PowerShell.
In the Azure portal, select Azure Active Directory.
Confirm that you're in the same directory as your web app or API app.
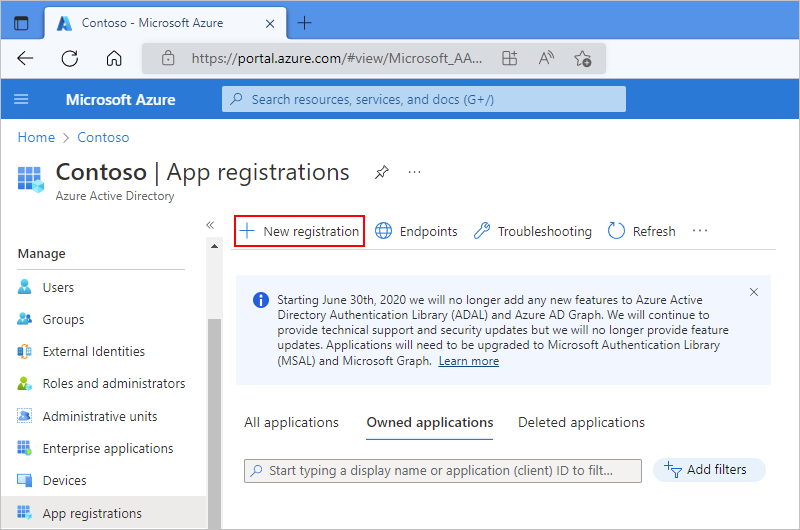
On the directory menu, under Manage, select App registrations > New registration.
The All registrations list shows all the app registrations in your directory. To view only your app registrations, select Owned applications.
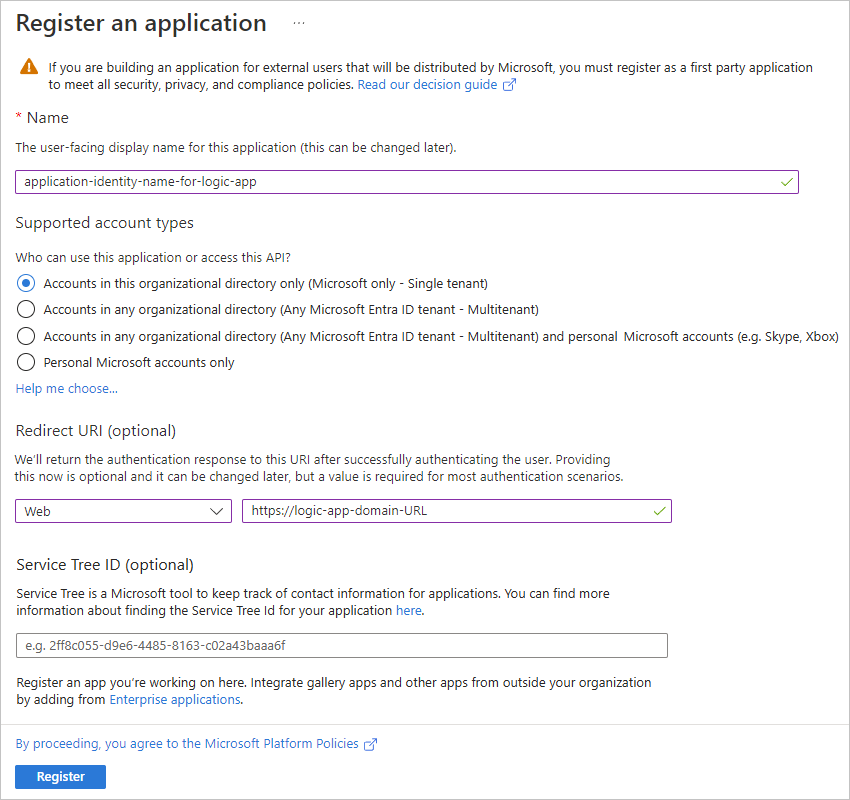
Provide a user-facing name for your logic app's application identity. Select the supported account types. For Redirect URI, select Web, provide a unique URL where to return the authentication response, and select Register.
The Owned applications list now includes your created application identity. If this identity doesn't appear, on the toolbar, select Refresh.
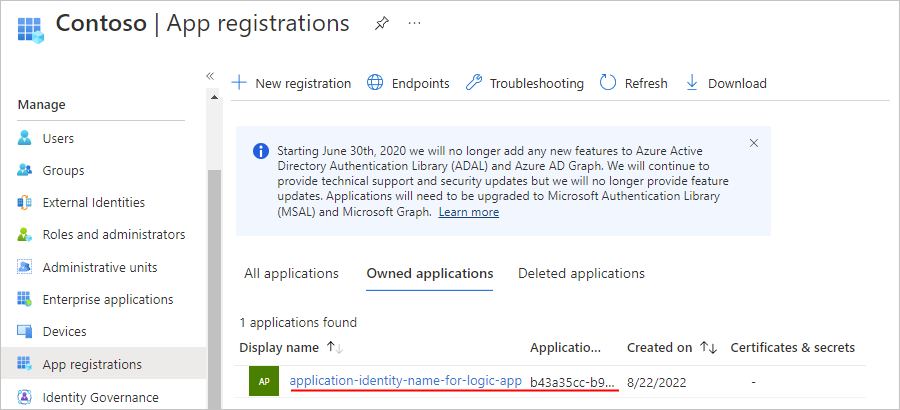
From the app registrations list, select your new application identity.
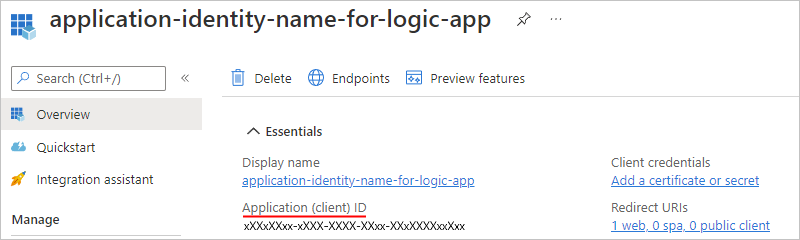
From the application identity navigation menu, select Overview.
On the Overview pane, under Essentials, copy and save the Application ID to use as the "client ID" for your logic app in Part 3.
From the application identity navigation menu, select Certificates & secrets.
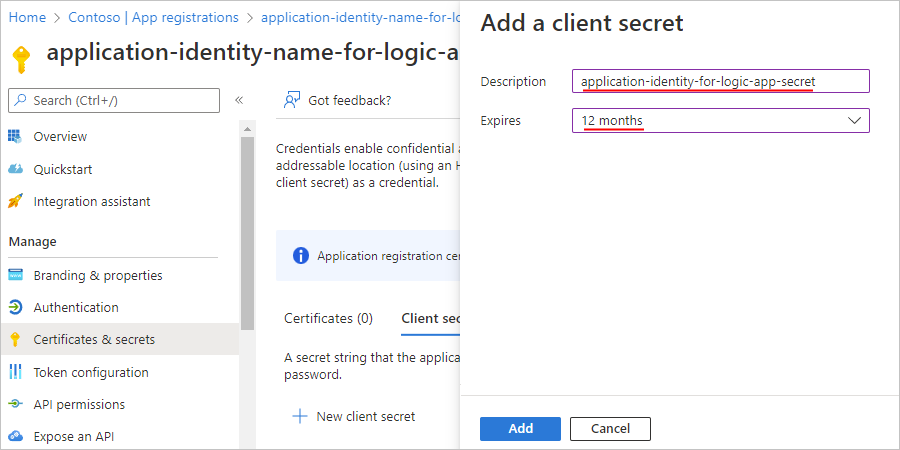
On the Client secrets tab, select New client secret.
For Description, provide a name for your secret. Under Expires, select a duration for your secret. When you're done, select Add.
The secret that you create acts as the application identity's "secret" or password for your logic app.
On the Certificates & secrets pane, under Client secrets, your secret now appears along with a secret value and secret ID.
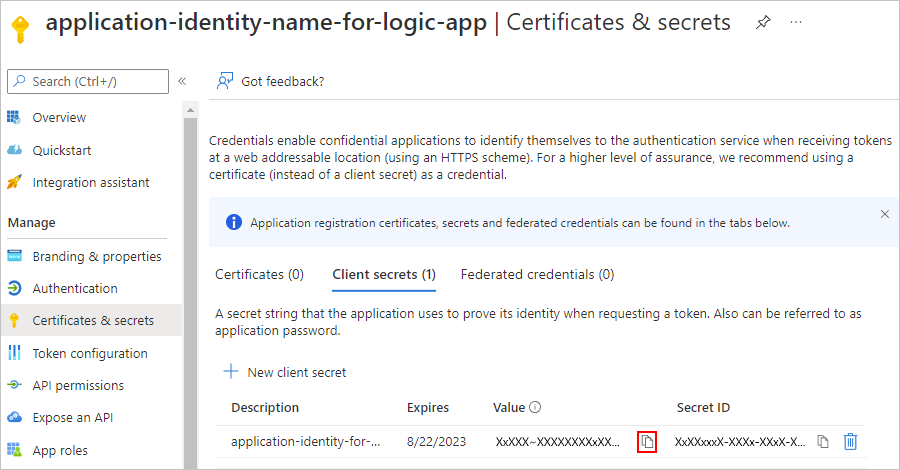
Copy the secret value for later use. When you configure your logic app in Part 3, you specify this value as the "secret" or password.


No comments:
Post a Comment